Introduction to Graphic Design Projects for Beginners
Graphic design is a multifaceted discipline that combines creativity and technology to communicate ideas visually. As an ever-evolving field, it encompasses a wide range of activities from creating logos and branding materials to designing websites and advertisements. For beginners, delving into graphic design can be both exciting and daunting. However, engaging in hands-on projects is a proven way to build skills and gain confidence.
Starting with graphic design projects allows beginners to apply theoretical knowledge in practical scenarios. These projects provide a platform for experimenting with different design elements, such as color, typography, and layout, thus fostering a deeper understanding of design principles. Moreover, as beginners work through various projects, they can develop a personal style and a portfolio that showcases their growth and versatility.
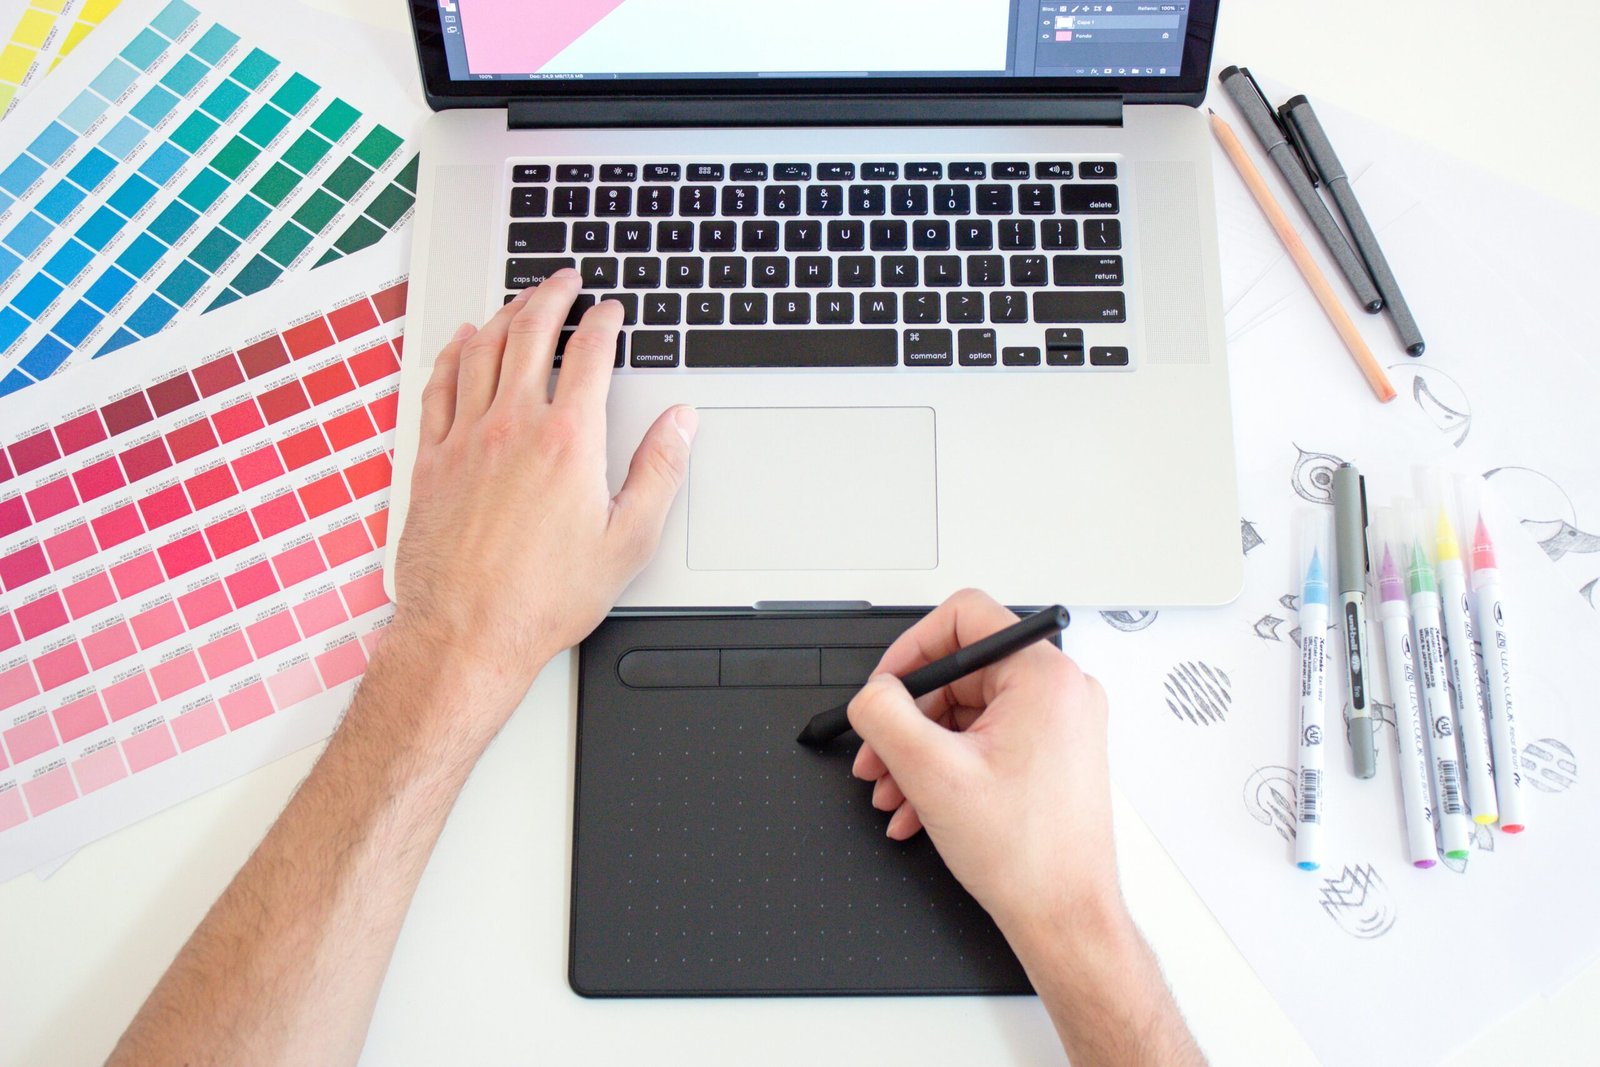
To embark on these projects, beginners need access to some basic tools. Essential software such as Adobe Photoshop, Illustrator, or free alternatives like GIMP and Inkscape can help in creating and editing designs. Additionally, a reliable computer and a graphics tablet can significantly enhance the design process, although they are not mandatory for starters. Familiarizing oneself with these tools early on can streamline the learning curve and make tackling projects more manageable.
When selecting projects, it’s crucial to choose ones that are both educational and enjoyable. Suitable projects for beginners often include creating business cards, social media graphics, posters, and simple website layouts. These projects are not only manageable but also cover a broad spectrum of design skills. Working on such diverse assignments ensures that beginners are well-rounded and prepared for more complex challenges in the future.
Creating a Personal Logo
Designing a personal logo is an excellent project for beginners looking to dive into the world of graphic design. A logo is a crucial element in branding as it encapsulates the essence of one’s identity or business in a simple, yet powerful visual symbol. The process of creating a personal logo involves several important steps, beginning with an understanding of what you want your logo to convey about you or your brand.
First, consider the significance of color in your design. Colors evoke emotions and can communicate messages without words. For example, blue often represents trust and professionalism, while red can signify passion and energy. Choose a color palette that aligns with the personal attributes or business values you wish to emphasize. Tools like Adobe Color can help you experiment with different color combinations to find the perfect match.
Next, focus on selecting the right font. Typography plays a crucial role in logo design as it adds character and personality. Whether you opt for a bold, modern font or a classic, serif typeface, ensure that the font complements the overall aesthetic and tone of your logo. Fonts like Helvetica, Arial, and Times New Roman are popular choices, but don’t hesitate to explore more unique options that might better represent your identity.
Symbols and icons are another vital component of a logo. They can add a visual element that enhances the logo’s meaning. Consider incorporating a symbol that is relevant to your interests or industry. For example, an artist might include a paintbrush, while a tech enthusiast might integrate a sleek, minimalist icon.
Using design software is essential for creating a polished logo. Adobe Illustrator is a powerful tool favored by professionals for its precision and versatility. However, if you’re new to graphic design, free alternatives like Canva offer user-friendly interfaces and templates to help you get started. These tools provide various features that can assist you in experimenting with different design elements and achieving a cohesive final product.
In summary, creating a personal logo is a valuable exercise that allows beginners to explore their creativity and enhance their design skills. By thoughtfully selecting colors, fonts, and symbols, and utilizing appropriate design software, you can craft a logo that accurately reflects your personal identity or brand ethos.
Designing Social Media Graphics
Creating eye-catching social media graphics is a fundamental skill for any budding graphic designer. Visual content plays a pivotal role in social media marketing by capturing attention, conveying messages quickly, and increasing engagement. Each social media platform has unique requirements and purposes, making it essential to tailor your designs accordingly.
For instance, Instagram thrives on high-quality images and visually appealing stories, making it perfect for vibrant, aesthetically pleasing graphics. Facebook, on the other hand, benefits from a mix of images, infographics, and videos to engage its diverse audience. Twitter requires concise, impactful graphics that complement brief, text-based posts. LinkedIn, a professional network, favors polished, informative graphics that reflect industry expertise.
When designing social media graphics, best practices involve maintaining brand consistency, using high-resolution images, and adhering to platform-specific dimensions. Consistency in color schemes, fonts, and logos reinforces brand identity and makes your content instantly recognizable. High-resolution images ensure your graphics appear professional and clear, while correctly sized images prevent cropping or distortion.
Practical steps for creating engaging social media graphics start with selecting the right tools. Design tools like Canva, Adobe Spark, and Figma offer a plethora of templates tailored for different social media platforms, simplifying the design process. These tools provide pre-set dimensions, design elements, and customization options, allowing even beginners to create professional-looking graphics.
Begin by choosing a template that aligns with your content’s purpose. Customize it by adding your brand’s colors, fonts, and images. Incorporate eye-catching elements such as bold typography, contrasting colors, and dynamic layouts to make your graphics stand out. Additionally, ensure your text is readable and your design is not overly cluttered.
By mastering the creation of social media graphics, you not only enhance your design skills but also contribute significantly to effective social media marketing. Engaging visuals can drive traffic, increase brand awareness, and foster community interaction, ultimately leading to a successful online presence.
Developing a Simple Poster
Creating a simple poster is an excellent way for beginners to explore the fundamentals of graphic design. A poster offers a versatile canvas where key elements like layout, typography, and imagery can be practiced and perfected. Whether designing for an event, providing information, or promoting a product, the principles remain consistent, ensuring a balanced and visually appealing outcome.
The first step in designing a poster is to establish the layout. This involves determining the hierarchy of information, which helps guide the viewer’s eye to the most important elements first. Typically, a grid system is used to organize content into sections, ensuring that text and images are aligned and proportionate. This foundational step sets the stage for a cohesive design.
Typography plays a crucial role in poster design. Selecting the right fonts can convey the mood and tone of the message. For instance, a bold, sans-serif font might be used for a modern concert poster, while a serif font could be appropriate for a formal event. It’s essential to limit the number of typefaces to two or three to maintain consistency and readability. Headings should stand out, while body text should be legible and not overpowering.
Imagery is another critical component. High-quality images or illustrations can enhance the visual appeal and communicate the message more effectively. When choosing images, ensure they are relevant to the content and complement the overall design. For promotional posters, product images should be clear and eye-catching, while event posters might benefit from vibrant colors and dynamic compositions.
Once the layout, typography, and imagery are in place, it’s time to refine the design. Check for balance by ensuring that no section is too cluttered or too sparse. Use color strategically to highlight key information and create visual interest. Lastly, consider the alignment and spacing to ensure that the design appears polished and professional.
By following these steps, beginners can develop a simple poster that not only looks appealing but also effectively communicates the intended message. Experimenting with different types of posters, such as event, informational, and promotional, will further enhance one’s design skills and creativity.
Crafting Business Cards
Designing a professional business card is a fundamental exercise for any aspiring graphic designer. It serves as an excellent introduction to the principles of layout, typography, and branding. A well-crafted business card not only conveys essential contact information but also leaves a lasting impression. The standard size for a business card is typically 3.5 x 2 inches, ensuring it fits conveniently into wallets and cardholders.
The layout of a business card should be clean and organized. Essential components include the individual’s name, job title, company name, phone number, email address, and website. Additionally, incorporating a company logo and a tagline can enhance brand recognition. When arranging these elements, ensure that the text is legible and that there is adequate white space to avoid a cluttered appearance.
Font selection plays a crucial role in the card’s overall aesthetic. Opt for fonts that reflect the brand’s personality while maintaining readability. Sans-serif fonts like Arial and Helvetica are popular for their modern and clean look, whereas serif fonts like Times New Roman can impart a more traditional and formal feel. Combining two complementary fonts can add visual interest without overwhelming the design.
Color choices should align with the company’s branding guidelines. A cohesive color scheme can reinforce brand identity and make the card visually appealing. Utilize high-contrast colors to ensure text stands out against the background. Incorporating subtle graphics or patterns can add a creative touch, but they should not distract from the core information.
When it comes to printing options, high-quality cardstock is recommended to ensure durability and a professional finish. Matte, gloss, and textured finishes are available, each offering a different tactile experience. For an added touch of sophistication, consider options like embossing, foil stamping, or spot UV coating.
By paying attention to these details, beginners can create business cards that not only look professional but also effectively communicate their or their client’s brand identity.
Designing Infographics
Infographics are a powerful way to present complex data and information visually. They transform raw data into an engaging, easily digestible format, making it more accessible to a broader audience. The essence of a successful infographic lies in effective storytelling, which helps to weave data points into a coherent narrative. This narrative guides the viewer and enhances their understanding of the underlying information.
When designing an infographic, it is essential to choose the right type of data. Quantitative data, such as statistics and numerical information, often works well because it can be visually represented through charts, graphs, and other visual elements. Qualitative data, such as survey results or textual information, can also be effective if presented in a structured and visually appealing manner.
To create an impactful infographic, consider the following design tips:
1. **Clarity and Simplicity**: Ensure that the information is straightforward and easy to understand. Avoid overcrowding the infographic with too much data or overly complex visuals.2. **Consistency**: Use a consistent color scheme, font style, and layout throughout the infographic to maintain a cohesive look.3. **Hierarchy**: Establish a visual hierarchy by using different sizes, colors, and fonts to highlight the most important information.4. **Imagery and Icons**: Incorporate relevant images and icons to make the data more engaging and relatable.5. **Balance**: Achieve a balanced layout by distributing visual elements evenly and avoiding clutter.
Practical tools like Piktochart and Canva can significantly simplify the infographic creation process. These platforms offer user-friendly interfaces, a wide range of templates, and customizable design elements that cater to both beginners and experienced designers. By leveraging these tools, even those new to graphic design can create professional-quality infographics that effectively communicate their message.
Ultimately, the goal of an infographic is to make information more accessible and engaging. Through thoughtful design and effective storytelling, infographics can transform data into a compelling visual narrative that captures the audience’s attention and enhances their understanding.
Creating a Simple Website Mockup
Designing a website mockup is an essential skill for budding graphic designers, offering a practical approach to understanding web design fundamentals. A mockup serves as a visual representation of a website’s layout and design, allowing designers to conceptualize the structure and user experience before any coding begins. For beginners, creating a website mockup can significantly enhance creativity and design proficiency.
The first step in designing a website mockup is to understand the key elements that should be included. These elements typically comprise the navigation bar, headers, content areas, and footers. Navigation bars are crucial for guiding users through different sections of the website, while headers often contain the site’s logo and main menu. Content areas are the core of the webpage, where text, images, and other multimedia elements are displayed. Footers generally include additional links, contact information, and other relevant details.
Selecting the right design tool is equally important. Popular tools like Sketch and Figma are highly recommended for their user-friendly interfaces and robust features. Sketch is known for its vector editing and prototyping capabilities, making it a favorite among Mac users. Figma, on the other hand, is a web-based tool that facilitates real-time collaboration, making it ideal for teams. Both tools offer a variety of templates and plugins to aid in the design process, making them excellent choices for beginners.
When creating a mockup, start by sketching a rough layout on paper or using wireframing tools to outline the basic structure. Next, use design software to create a more polished version, paying close attention to alignment, spacing, and consistency. Ensure that the typography is legible, the color scheme is cohesive, and the images are high-quality. It’s also crucial to consider the user experience, ensuring that the navigation is intuitive and the content is easy to read.
Incorporating feedback from peers or mentors can provide valuable insights and help refine the design. By regularly practicing and experimenting with different styles and layouts, beginners can develop a strong foundation in web design, ultimately boosting their creativity and confidence in creating effective website mockups.
Tips and Resources for Ongoing Learning
Continuing to improve your graphic design skills is crucial for ongoing success and creativity. Numerous resources and strategies can help you stay on top of your game. One of the most effective ways to enhance your skills is by enrolling in online courses. Platforms like Coursera, Udemy, and Skillshare offer comprehensive courses tailored to all skill levels. These courses often include hands-on projects and feedback from experienced designers, providing invaluable learning opportunities.
Tutorials are another excellent resource for beginners. Websites such as YouTube, Envato Tuts+, and Canva Design School offer a plethora of free tutorials covering various design software and techniques. Regularly practicing these tutorials can help solidify your understanding and application of different design concepts.
Joining design communities can also provide significant benefits. Platforms like Behance, Dribbble, and Reddit’s design subreddits allow you to connect with other designers, share your work, and receive constructive feedback. Engaging with these communities fosters a collaborative environment where you can learn from others’ experiences and stay motivated.
Seeking feedback is crucial for personal growth. Don’t hesitate to ask for critiques from peers, mentors, or even online communities. Constructive criticism can offer new perspectives and highlight areas for improvement, ultimately leading to better design outcomes.
Regular practice is essential for honing your skills. Dedicate time each day or week to work on personal projects, experiment with new techniques, or replicate existing designs to understand their structure and elements. Consistent practice will help you develop a more intuitive grasp of design principles.
Lastly, staying updated with design trends is vital. Follow industry blogs, subscribe to design magazines, and attend webinars or conferences. Keeping abreast of the latest trends ensures that your work remains relevant and innovative, providing a continuous source of inspiration and ideas.
By leveraging these tips and resources, beginners can effectively nurture their graphic design skills, paving the way for a successful and creative career in the field.