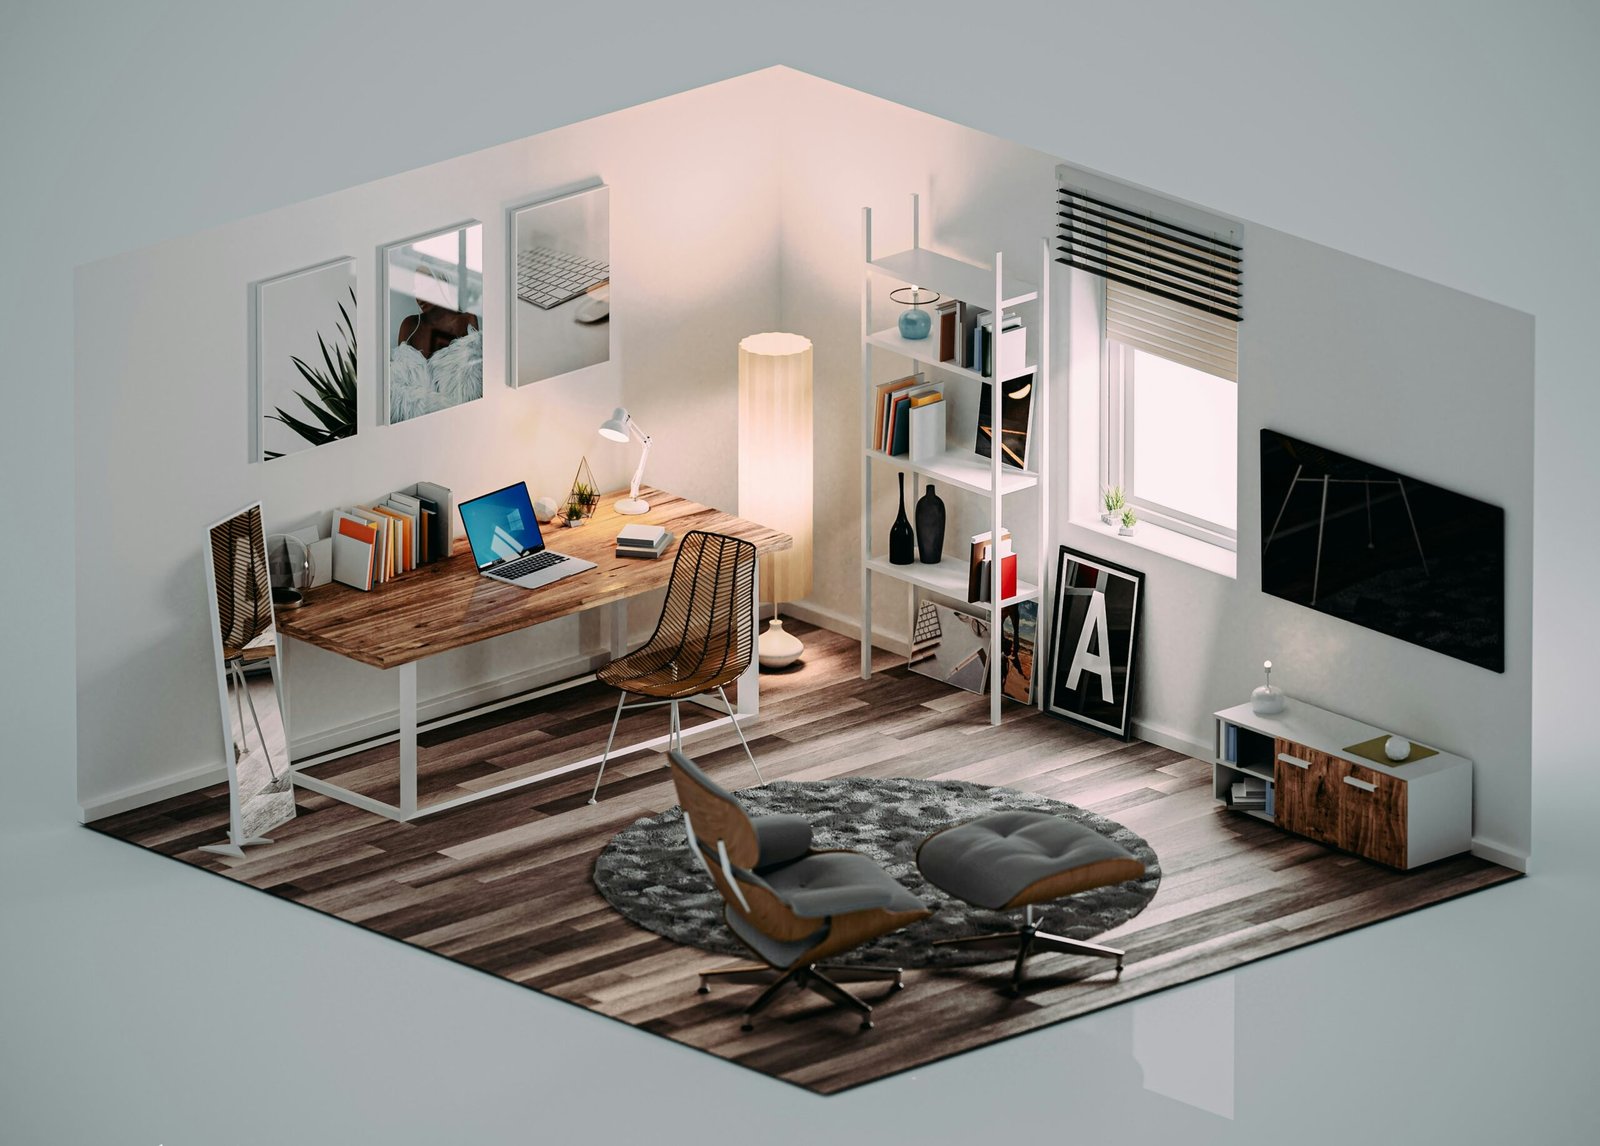
Understanding the Basics of 3D Design
The realm of 3D design has evolved significantly since its inception, offering a dynamic way to create visually compelling images that have depth and realism. The journey of 3D imagery began with rudimentary wireframe models in the 1960s, progressing to sophisticated and photorealistic graphics found in today’s movies, video games, and virtual reality applications. At its core, 3D design involves creating images that have width, height, and depth, distinguishing it fundamentally from 2D design, which only encompasses width and height.
To embark on 3D design, one must become familiar with a few essential terminologies. Polygons are the building blocks of 3D models, typically forming the surfaces of an object. Each polygon is defined by vertices (points in space), edges (lines connecting vertices), and faces (the flat surfaces enclosed by edges). Understanding these concepts is crucial as they form the foundation upon which more complex structures are built.
There are various techniques used in 3D modeling, each serving different purposes. Polygonal modeling is one of the most common methods, involving the creation of objects by manipulating polygons. This technique is widely used due to its versatility and efficiency in forming detailed and intricate designs. Another technique is NURBS (Non-Uniform Rational B-Splines), which uses mathematical formulas to generate smooth and precise curves, making it ideal for creating organic shapes and surfaces. Sculpting, on the other hand, is akin to working with digital clay, allowing artists to carve and mold their models with a high level of detail and nuance.
Creating realistic 3D images requires a solid grasp of perspective, depth, and spatial relationships. These elements ensure that objects are proportionate and positioned correctly within the 3D space, adding to the overall believability of the scene. Mastering these aspects can significantly enhance the quality and realism of 3D designs.
For those new to 3D design, exploring software like Blender, Maya, and 3ds Max is a great starting point. Blender is an open-source platform with robust features suitable for beginners and professionals alike. Maya and 3ds Max, developed by Autodesk, are industry-standard tools renowned for their comprehensive capabilities in animation, modeling, and rendering. Each of these programs provides extensive resources and communities, making them excellent choices for anyone looking to delve into the world of 3D design.
Step-by-Step Process of Creating 3D Images
Creating 3D images is a meticulous process that begins with a well-thought-out concept and evolves through several stages of development. The initial phase involves sketching and conceptualizing your design. This step is crucial as it sets the foundation for the entire project. Start by drafting rough sketches of your idea, focusing on different perspectives to understand the spatial dynamics. Conceptualizing your design helps in visualizing the final product and identifying potential challenges early in the process.
Once you have a clear concept, the next step is selecting the appropriate software. Popular choices include Blender, Autodesk Maya, and Cinema 4D, each offering unique features tailored to different aspects of 3D modeling. After choosing your software, setting up your workspace is essential. Customize the interface to suit your workflow, ensuring that frequently used tools are easily accessible. This setup can significantly streamline your process, saving valuable time.
With your workspace ready, you can proceed to the modeling phase. Begin by creating basic shapes such as cubes, spheres, and cylinders. These primitives form the building blocks of your design. Gradually add complexity by refining these shapes, using techniques like extrusion, beveling, and subdivision. It’s important to work methodically, regularly checking your model from various angles to ensure consistency.
Texturing and material application come next, adding depth and realism to your 3D image. Choose textures that complement your model and apply materials that mimic real-world properties. Utilize UV mapping to accurately wrap textures around your 3D objects. Lighting is another critical element; it can dramatically affect the mood and realism of your scene. Experiment with different lighting setups, such as three-point lighting, to highlight your model effectively.
The final stages involve rendering and post-processing. Rendering converts your 3D model into a 2D image, capturing all the details and effects you’ve applied. Depending on the complexity, this process can be time-consuming. Post-processing in software like Adobe Photoshop or After Effects allows you to make final adjustments, such as color correction and adding special effects. Lastly, export your image in the desired format, ensuring the settings align with your intended use, whether for print, web, or animation.
Throughout this journey, practical tips such as regularly saving your work, using reference images, and breaking down complex models into manageable parts can enhance your efficiency. By following these steps and avoiding common pitfalls, you can create stunning 3D images that stand out.
