Introduction to DIY Wall Art
DIY wall art is an excellent way to infuse personality and creativity into your living spaces. Unlike mass-produced artwork, DIY wall art enables you to create pieces that reflect your individual style and preferences. This personalization adds a unique touch to your home, making it not only aesthetically pleasing but also more meaningful to you and your family.
One of the significant benefits of DIY wall art is its cost-effectiveness. Creating your own artwork can be far more affordable than purchasing pieces from galleries or stores. With a few simple materials and some creativity, you can produce stunning art that rivals high-end pieces. This allows you to decorate your home without breaking the bank.
Moreover, the process of creating your own wall art is immensely satisfying and enjoyable. Engaging in a hands-on, creative activity can be a great way to relax and unwind. Whether you are painting, drawing, or crafting, the act of making art can be therapeutic and rewarding. It offers a sense of accomplishment when you see your finished piece hanging on the wall.
The world of DIY wall art is vast and varied, offering endless possibilities for creativity. From abstract paintings and intricate mosaics to repurposed materials and mixed-media collages, the range of projects is only limited by your imagination. This variety ensures that there is something for everyone, regardless of skill level or artistic background.
As we delve into the different DIY wall art ideas, you will discover numerous techniques and inspirations to help you transform your home. Whether you are looking to add a bold statement piece or subtle accents, DIY wall art provides a versatile and customizable solution. Embrace the joy of creating and let your walls tell your unique story.
Choosing the Right Materials
When embarking on a DIY wall art project, selecting the right materials is crucial to achieving a professional and lasting result. The variety of materials available opens up endless creative possibilities, from traditional canvases to unconventional choices like recycled items. Each option offers unique textures, durability, and aesthetic appeal, making it important to choose wisely based on your project’s requirements and your personal style.
Canvases remain a popular choice due to their versatility and ease of use. They come in various sizes and can be primed to suit different painting mediums, such as acrylics, oils, or watercolors. When selecting a canvas, consider the weave and weight of the fabric; a tighter weave and heavier weight typically indicate higher quality and durability.
Wood is another excellent material for DIY wall art. Whether using plywood, reclaimed wood, or wooden panels, wood provides a sturdy base that can be painted, stained, or carved. For an eco-friendly approach, opt for reclaimed wood, which not only adds a rustic charm but also promotes sustainability by repurposing existing materials.
Fabric offers a softer, more textured alternative for wall art. It can be stretched over frames, embroidered, or even used in collage techniques. When choosing fabric, look for high-quality textiles that won’t fray easily and can withstand the test of time. Cotton, linen, and canvas fabrics are durable choices that can be dyed or painted to create custom designs.
Recycled items present an innovative and environmentally conscious option for DIY wall art. Everyday objects like bottle caps, old magazines, or scrap metal can be transformed into stunning pieces of art. This not only reduces waste but also adds a unique and personal touch to your home decor.
When selecting materials, it’s essential to consider both quality and cost. High-quality materials may initially be more expensive but often result in a more polished and durable finished product. However, budget-friendly options can still yield impressive results if chosen carefully. Look for sales, discount stores, or online marketplaces for affordable supplies without compromising on quality.
Lastly, sustainability should be a key consideration. Opt for eco-friendly materials, such as FSC-certified wood, non-toxic paints, and recycled or upcycled items. By making mindful choices, you can create beautiful DIY wall art that not only enhances your home but also contributes positively to the environment.
Planning Your Design
Embarking on a creative DIY wall art project begins with thorough planning, a crucial step to achieving a cohesive and visually appealing result. Start by brainstorming ideas that align with your personal style and the overall aesthetic of the space. Consider the purpose of the room and how the wall art will complement existing décor. Whether you’re aiming for a minimalist, eclectic, or contemporary look, having a clear vision will guide your project from conception to completion.
Once you’ve gathered some initial ideas, sketching designs can help visualize how different elements will come together. This doesn’t need to be a detailed blueprint; even basic sketches can provide a valuable reference point. Experiment with various layouts, sizes, and arrangements to find what works best for your space. Think about how the shapes, lines, and forms in your design will interact with the other elements in the room.
Color scheme is another essential factor in your planning process. Your choice of colors can significantly impact the mood and harmony of the space. Consider the existing color palette of your room and decide whether you want your wall art to blend seamlessly or stand out as a focal point. Using complementary or analogous colors can create a balanced and unified look, while bold, contrasting colors can add drama and interest.
The planning stage is also an opportunity to determine the materials and techniques you will use. Will you be painting directly on the wall, creating a collage, or using mixed media? Each method offers unique possibilities and challenges, so choose one that fits your skill level and the time you have available. By investing time in planning, you ensure that your DIY wall art project not only enhances your home but also reflects your personal creativity and style.
Abstract and Geometric Art
Abstract and geometric art offer a versatile way to infuse your living space with personality and style. These art forms allow for a broad range of creativity, from simple shapes and patterns to complex and intricate designs. Here’s how you can create your own abstract and geometric art pieces using a few straightforward techniques.
Tape Resist Technique
The tape resist technique is an excellent starting point for creating geometric art. Begin by selecting a canvas and some painter’s tape. Arrange the tape in various patterns on the canvas—think triangles, rectangles, or a mix of both. Once your tape is in place, choose a color palette that complements your space. Using acrylic paints, fill in the sections created by the tape. After the paint dries, carefully remove the tape to reveal a striking geometric design. This method is not only simple but also highly customizable, allowing you to experiment with different shapes and colors.
Splatter Painting
Splatter painting is a fun and dynamic way to create abstract art. Start with a blank canvas and gather your paint supplies. Dilute acrylic paints with a bit of water to achieve the right consistency for splattering. Using a brush or even a toothbrush, flick the paint onto the canvas in a controlled manner. You can layer different colors to add depth and complexity to your piece. The randomness of the splatter technique ensures that each artwork is unique, making it a perfect conversation starter for your home.
Creating Geometric Shapes
For a more structured approach, consider creating art with geometric shapes. Use stencils or freehand drawing to outline shapes like circles, squares, and hexagons on your canvas. Fill these shapes with bold, contrasting colors to make them pop. You can also experiment with gradients or patterns within the shapes to add visual interest. This method allows for endless customization and can be tailored to match any room’s decor.
These techniques are just the beginning. Abstract and geometric art provide endless possibilities for creativity. Whether you prefer the clean lines of geometric shapes or the spontaneous nature of splatter painting, these DIY projects can transform your home into a gallery of personalized art.
Nature-Inspired Art
Embracing nature-inspired art is an excellent way to bring the tranquility and beauty of the outdoors into your home. One of the most popular methods to achieve this is through the use of pressed flowers. Collecting flowers from your garden or during a nature walk can become a delightful and therapeutic activity. To press flowers, simply place them between the pages of a heavy book, ensuring they are spread out evenly. After a few weeks, the flowers will be dried and flattened, ready to be framed or arranged into a stunning wall display.
Leaf prints offer another creative avenue for incorporating nature into your wall art. Gather leaves of various shapes and sizes, and use them to create unique prints. To do this, coat one side of the leaf with paint and press it onto a canvas or paper. The resulting imprint will capture the intricate details of the leaf’s veins and structure. Experiment with different colors and compositions to create a dynamic piece that reflects the changing seasons or the natural diversity found in your surroundings.
Botanical illustrations provide a more refined approach to nature-inspired wall art. These detailed drawings or paintings of plants can be either hand-drawn or purchased as prints. Botanical illustrations often focus on the intricate details of flowers, leaves, and stems, offering a scientifically accurate yet aesthetically pleasing representation of nature. They can be framed individually or as part of a gallery wall to create a cohesive nature-themed display.
When collecting natural materials for your wall art, it is important to practice sustainability. Avoid taking too many specimens from any one area and opt for fallen leaves or flowers when possible. Preserving these materials properly ensures their longevity and maintains their vibrant colors. Additionally, consider using acid-free paper and UV-protective glass when framing your artwork to prevent fading over time.
Incorporating nature-inspired art into your home not only enhances its aesthetic appeal but also fosters a sense of connection with the natural world. Through the use of pressed flowers, leaf prints, and botanical illustrations, you can create captivating compositions that bring the serene beauty of the outdoors inside.
Personalized and Sentimental Art
Incorporating personalized and sentimental art into your home decor can add a unique and heartfelt touch to your living space. Such art pieces not only enhance the aesthetic appeal of your home but also evoke cherished memories and meaningful connections. One popular idea is to create a family photo collage. You can gather photographs from various memorable occasions and arrange them in a visually pleasing pattern. Consider using frames of different sizes and shapes to add depth and interest to your collage. This display can serve as a beautiful reminder of the special moments you’ve shared with loved ones.
Another excellent idea is to craft hand-lettered quotes. Choose quotes that resonate with you or reflect your family’s values and beliefs. You can use calligraphy pens or brushes to create elegant, hand-lettered pieces on canvas, wood, or even repurposed materials. These personalized quotes can be displayed in prominent areas of your home, such as the living room or entryway, providing daily inspiration and a touch of elegance.
Maps of special places also make for sentimental art pieces. You can select maps of locations that hold significant meaning to you, such as your hometown, favorite vacation spots, or places where important life events occurred. Customize these maps by highlighting specific areas or adding markers and notes. Framing these maps and displaying them in your home can serve as a constant reminder of the places that have shaped your life.
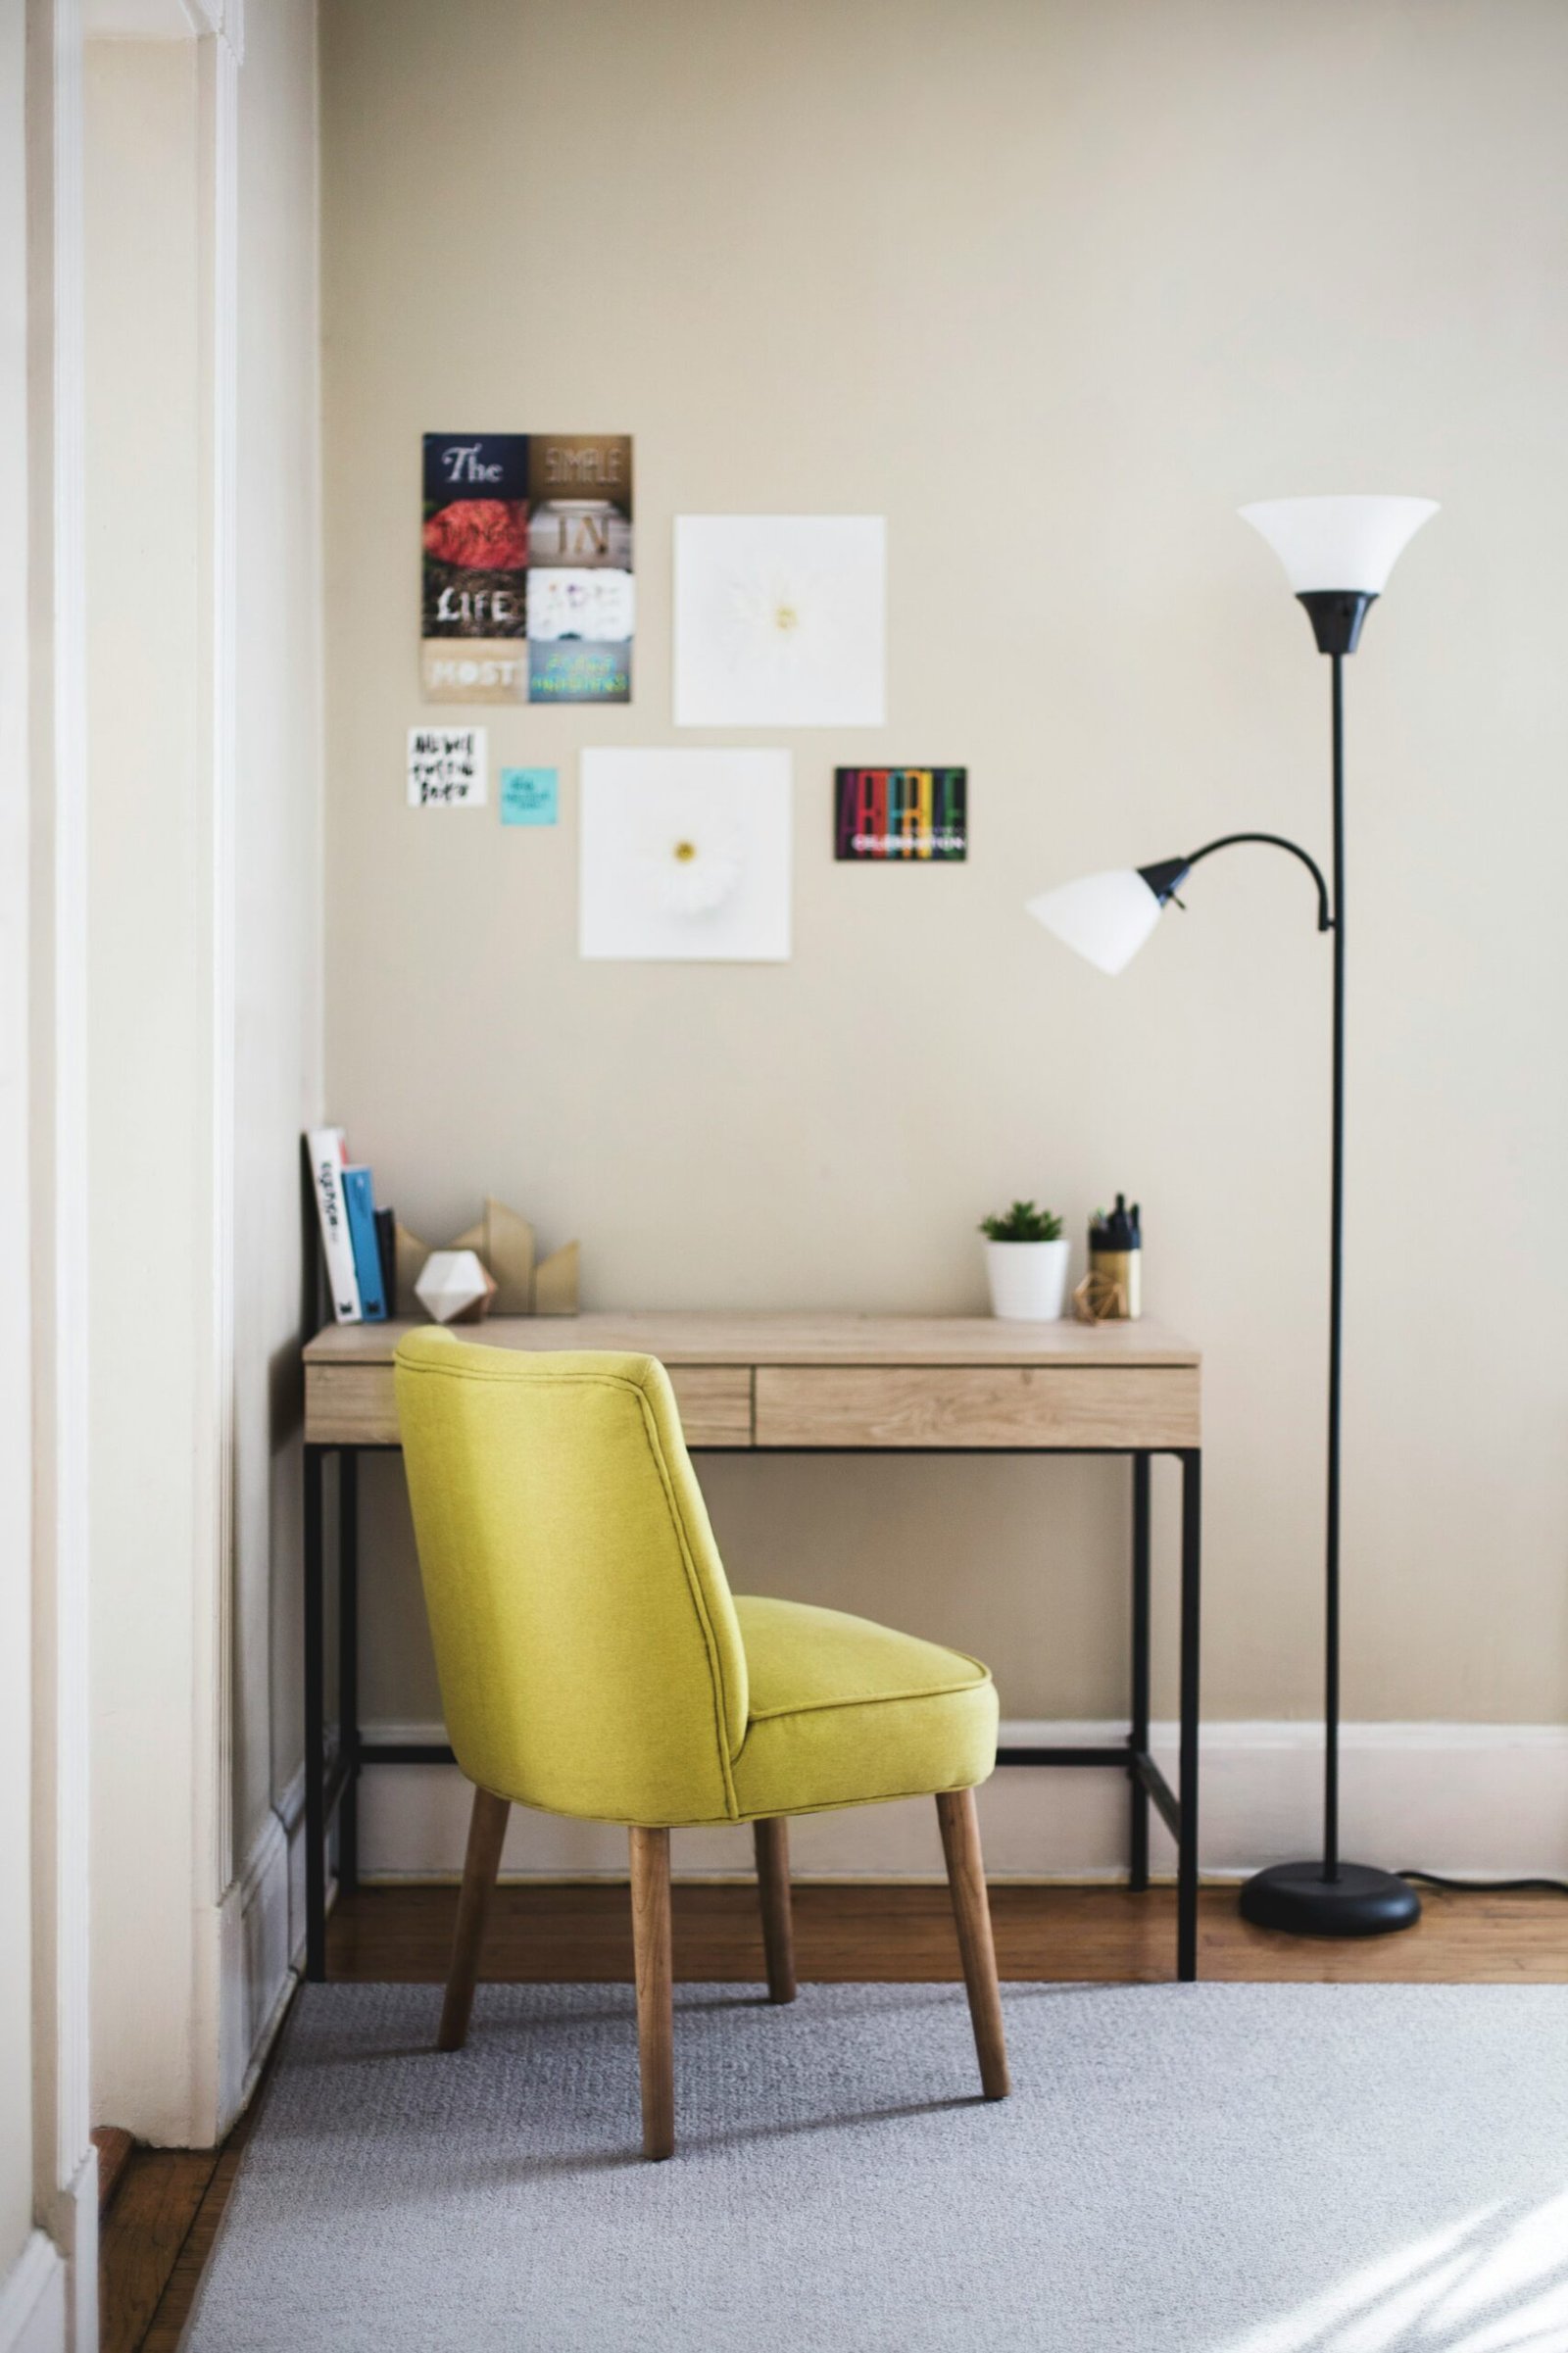
When it comes to displaying personalized and sentimental art, consider using gallery walls or dedicated art spaces. Gallery walls allow you to showcase a collection of different pieces in a cohesive manner, while dedicated art spaces can highlight individual works. Use a mix of frames, shelves, and creative hanging methods to create an engaging and personalized display. By incorporating these unique and meaningful art pieces, you can transform your home into a space that truly reflects your personal journey and cherished memories.
Textured and Mixed Media Art
Adding texture to wall art can transform a plain surface into a visually captivating focal point. Textured and mixed media art involves incorporating various materials such as fabric, yarn, and found objects to create pieces that are rich in depth and complexity. This approach to wall art allows for endless creativity and personalization, making it a perfect choice for those seeking unique home decor solutions.
One of the simplest techniques to introduce texture is by using different types of fabric. Fabrics like burlap, silk, and felt can be layered and combined to form intricate patterns and designs. For instance, you can create a fabric collage by cutting out shapes and adhering them to a canvas, or you can weave strips of fabric through a wire frame to make a tactile piece of art.
Yarn is another versatile material that can add texture and dimension to wall art. Techniques such as wrapping, weaving, and knotting yarn can result in stunning visual effects. A popular project involves creating a yarn wall hanging by tying lengths of yarn to a wooden dowel and then arranging them in varying patterns. This not only adds a cozy element to the room but also introduces a handcrafted aesthetic.
Found objects can also be utilized to enhance the texture of wall art. Items such as buttons, beads, and shells can be glued onto a canvas to create a three-dimensional piece. For a more eclectic look, consider incorporating natural elements like twigs, stones, or dried flowers. These materials can be arranged in a mosaic pattern or used to accentuate specific areas of the artwork.
Successful examples of textured art projects include mixed media collages that combine paint with fabric and found objects, creating layers of visual interest. Another example is a shadow box filled with an assortment of textured items, providing depth and a sense of storytelling. By experimenting with different materials and techniques, you can produce textured and mixed media art that adds a unique and engaging element to any room.
Tips for Displaying Your DIY Wall Art
Displaying DIY wall art effectively can transform any room, adding personality and a distinct flair to your home. One popular method is creating a gallery wall, which allows you to curate a collection of your favorite pieces. When planning a gallery wall, start by laying out your artwork on the floor to visualize the arrangement. Aim for a balanced mix of large and small pieces, maintaining a cohesive theme or color palette. A good rule of thumb is to keep the center of the arrangement at eye level, approximately 57-60 inches from the floor.
Using frames and mounts strategically can enhance the visual appeal of your DIY wall art. Opt for frames that complement the artwork and the room’s decor. For a modern look, use minimalist frames or even frameless mounts. Traditional spaces might benefit from ornate or vintage-style frames. Additionally, consider using mats to give your smaller pieces more presence and add depth to the display.
Ensuring your wall art remains level and securely hung is crucial for a polished appearance. Use a measuring tape, level, and painter’s tape to mark where the nails or hooks should go. For heavier pieces, anchors or wall studs provide additional support. Command strips are a damage-free alternative for lighter items, allowing for easy repositioning without leaving marks.
Maintaining and updating your wall art over time keeps your space fresh and engaging. Regularly dust frames and artwork to prevent buildup and fading. Rotate pieces periodically to showcase different works and keep the arrangement dynamic. Seasonal changes or new additions to your collection can also inspire updates, ensuring your wall art evolves alongside your style.
By thoughtfully arranging and caring for your DIY wall art, you can create a captivating display that enhances your home’s ambiance and reflects your unique taste.