Introduction
In an era where convenience often trumps creativity, the charm of DIY gifts remains unparalleled. Handmade presents have a unique ability to convey thoughtfulness and personal touch, setting them apart from impersonal store-bought items. Creating DIY gifts for friends not only allows you to customize the present to their tastes and preferences but also demonstrates the time, effort, and love invested in crafting something special.
The significance of DIY gifts lies in their ability to forge a deeper connection between the giver and the receiver. Each handcrafted item tells a story, evoking memories and emotions that mass-produced products simply cannot replicate. Whether it’s a knitted scarf, a hand-painted mug, or a homemade batch of cookies, these gifts reflect a level of care and consideration that elevates them beyond mere objects.
Moreover, the process of creating DIY gifts can be an enriching experience for the giver as well. Engaging in a creative project can be both therapeutic and fulfilling, providing an opportunity to unwind and express oneself artistically. It’s a chance to explore new hobbies, refine existing skills, and even discover hidden talents.
For the receiver, receiving a DIY gift can be incredibly heartwarming. Knowing that someone invested time and effort to make something specifically for them can make the gift feel more meaningful and cherished. It’s a tangible reminder of the bond shared with the giver, often becoming a keepsake that holds sentimental value for years to come.
In this blog post, we will explore a variety of simple DIY gift ideas that are thoughtful and easy to create. Whether you’re a seasoned crafter or a beginner, these ideas will inspire you to embark on your own creative journey, resulting in gifts that your friends will undoubtedly treasure.
Benefits of DIY Gifts
DIY gifts offer a multitude of benefits, making them an excellent choice for those seeking thoughtful and unique presents. One of the primary advantages of DIY gifts is their cost-effectiveness. Creating a gift by hand often requires fewer financial resources compared to purchasing a ready-made item. This allows for a more personalized and meaningful gesture without breaking the bank.
Personalization is another significant benefit of DIY gifts. When crafting a present, you can tailor it specifically to the recipient’s tastes and preferences. Whether it’s a hand-knitted scarf in their favorite color or a scrapbook filled with shared memories, the personal touch adds an extra layer of sentiment that store-bought gifts often lack. This level of customization demonstrates the effort and thoughtfulness invested in the gift, which can significantly strengthen friendships.
The joy of creation is also a rewarding aspect of DIY gifts. Engaging in the creative process can be deeply satisfying and can provide a sense of accomplishment. This intrinsic joy is further amplified when the recipient appreciates the effort and creativity that went into making the gift. In this way, DIY gifts foster a deeper connection between the giver and the recipient, enhancing the emotional value of the present.
Additionally, DIY gifts can be more eco-friendly, especially when using recycled or natural materials. By repurposing items or opting for sustainable resources, you contribute to environmental conservation. This eco-conscious approach not only reduces waste but also sets a positive example for others, promoting a more sustainable lifestyle.
In essence, DIY gifts encapsulate the essence of thoughtfulness, creativity, and sustainability. They provide a cost-effective way to create personalized presents that reflect the giver’s effort and care, ultimately strengthening the bonds of friendship and contributing to a more eco-friendly world.
Essential Tools and Materials
When embarking on the journey of creating simple DIY gifts for friends, having the right tools and materials at hand is crucial. Basic tools such as scissors, glue, paint, and crafting paper form the foundation of most DIY projects. These items are versatile and can be used across a variety of creative endeavors, making them valuable additions to your crafting toolkit.
Scissors are indispensable for cutting paper, fabric, and other materials. Investing in a good pair of sharp, durable scissors can make a significant difference in the ease and precision of your crafting. Glue, another essential item, comes in various forms, including glue sticks, liquid glue, and hot glue. Each type has its specific use, so having a selection available can enhance your ability to tackle diverse projects.
Paint, whether acrylic, watercolor, or fabric paint, adds color and character to your creations. A basic set of primary colors can be mixed to produce a wide range of hues, offering endless possibilities for customization. Crafting paper, available in different textures and patterns, serves as a fundamental component for many DIY gifts. Its versatility allows for use in card making, scrapbooking, and decorative wrapping.
To source these materials inexpensively, consider looking at local dollar stores, discount retailers, and online marketplaces. These venues often provide a wide range of crafting supplies at budget-friendly prices. Additionally, seasonal sales and bulk purchasing can offer significant savings.
While it’s possible to find most tools and materials at a low cost, investing in a few key items can prove beneficial for multiple projects. High-quality scissors, a reliable glue gun, and a set of versatile paints can elevate the quality and durability of your DIY gifts. By combining these essential tools and materials, you can create thoughtful and personalized presents that will delight your friends and showcase your creativity.
DIY Gift Ideas for Every Occasion
When it comes to celebrating special moments or simply showing appreciation, DIY gifts are a heartfelt and personal choice. Whether it’s a birthday, holiday, or just a spontaneous gesture, creating something unique can leave a lasting impression. Here are some versatile DIY gift ideas suitable for various occasions:
Handmade Candles: Crafting your own candles allows for endless customization. Choose scents that resonate with the recipient, and consider adding decorative elements like dried flowers or colored wax layers. Not only do handmade candles add a cozy touch to any space, but they also convey a sense of warmth and thoughtfulness.
Personalized Photo Frames: A photo frame with a personal touch can be a cherished keepsake. Start with a plain frame and embellish it with paint, beads, or other craft materials. Insert a meaningful photo, and you’ve got a sentimental gift that captures precious memories.
Custom Jewelry: Creating custom jewelry can be both fun and meaningful. Utilize materials such as beads, charms, and wire to design necklaces, bracelets, or earrings that reflect the recipient’s style. Personalized jewelry pieces can serve as daily reminders of your special bond.
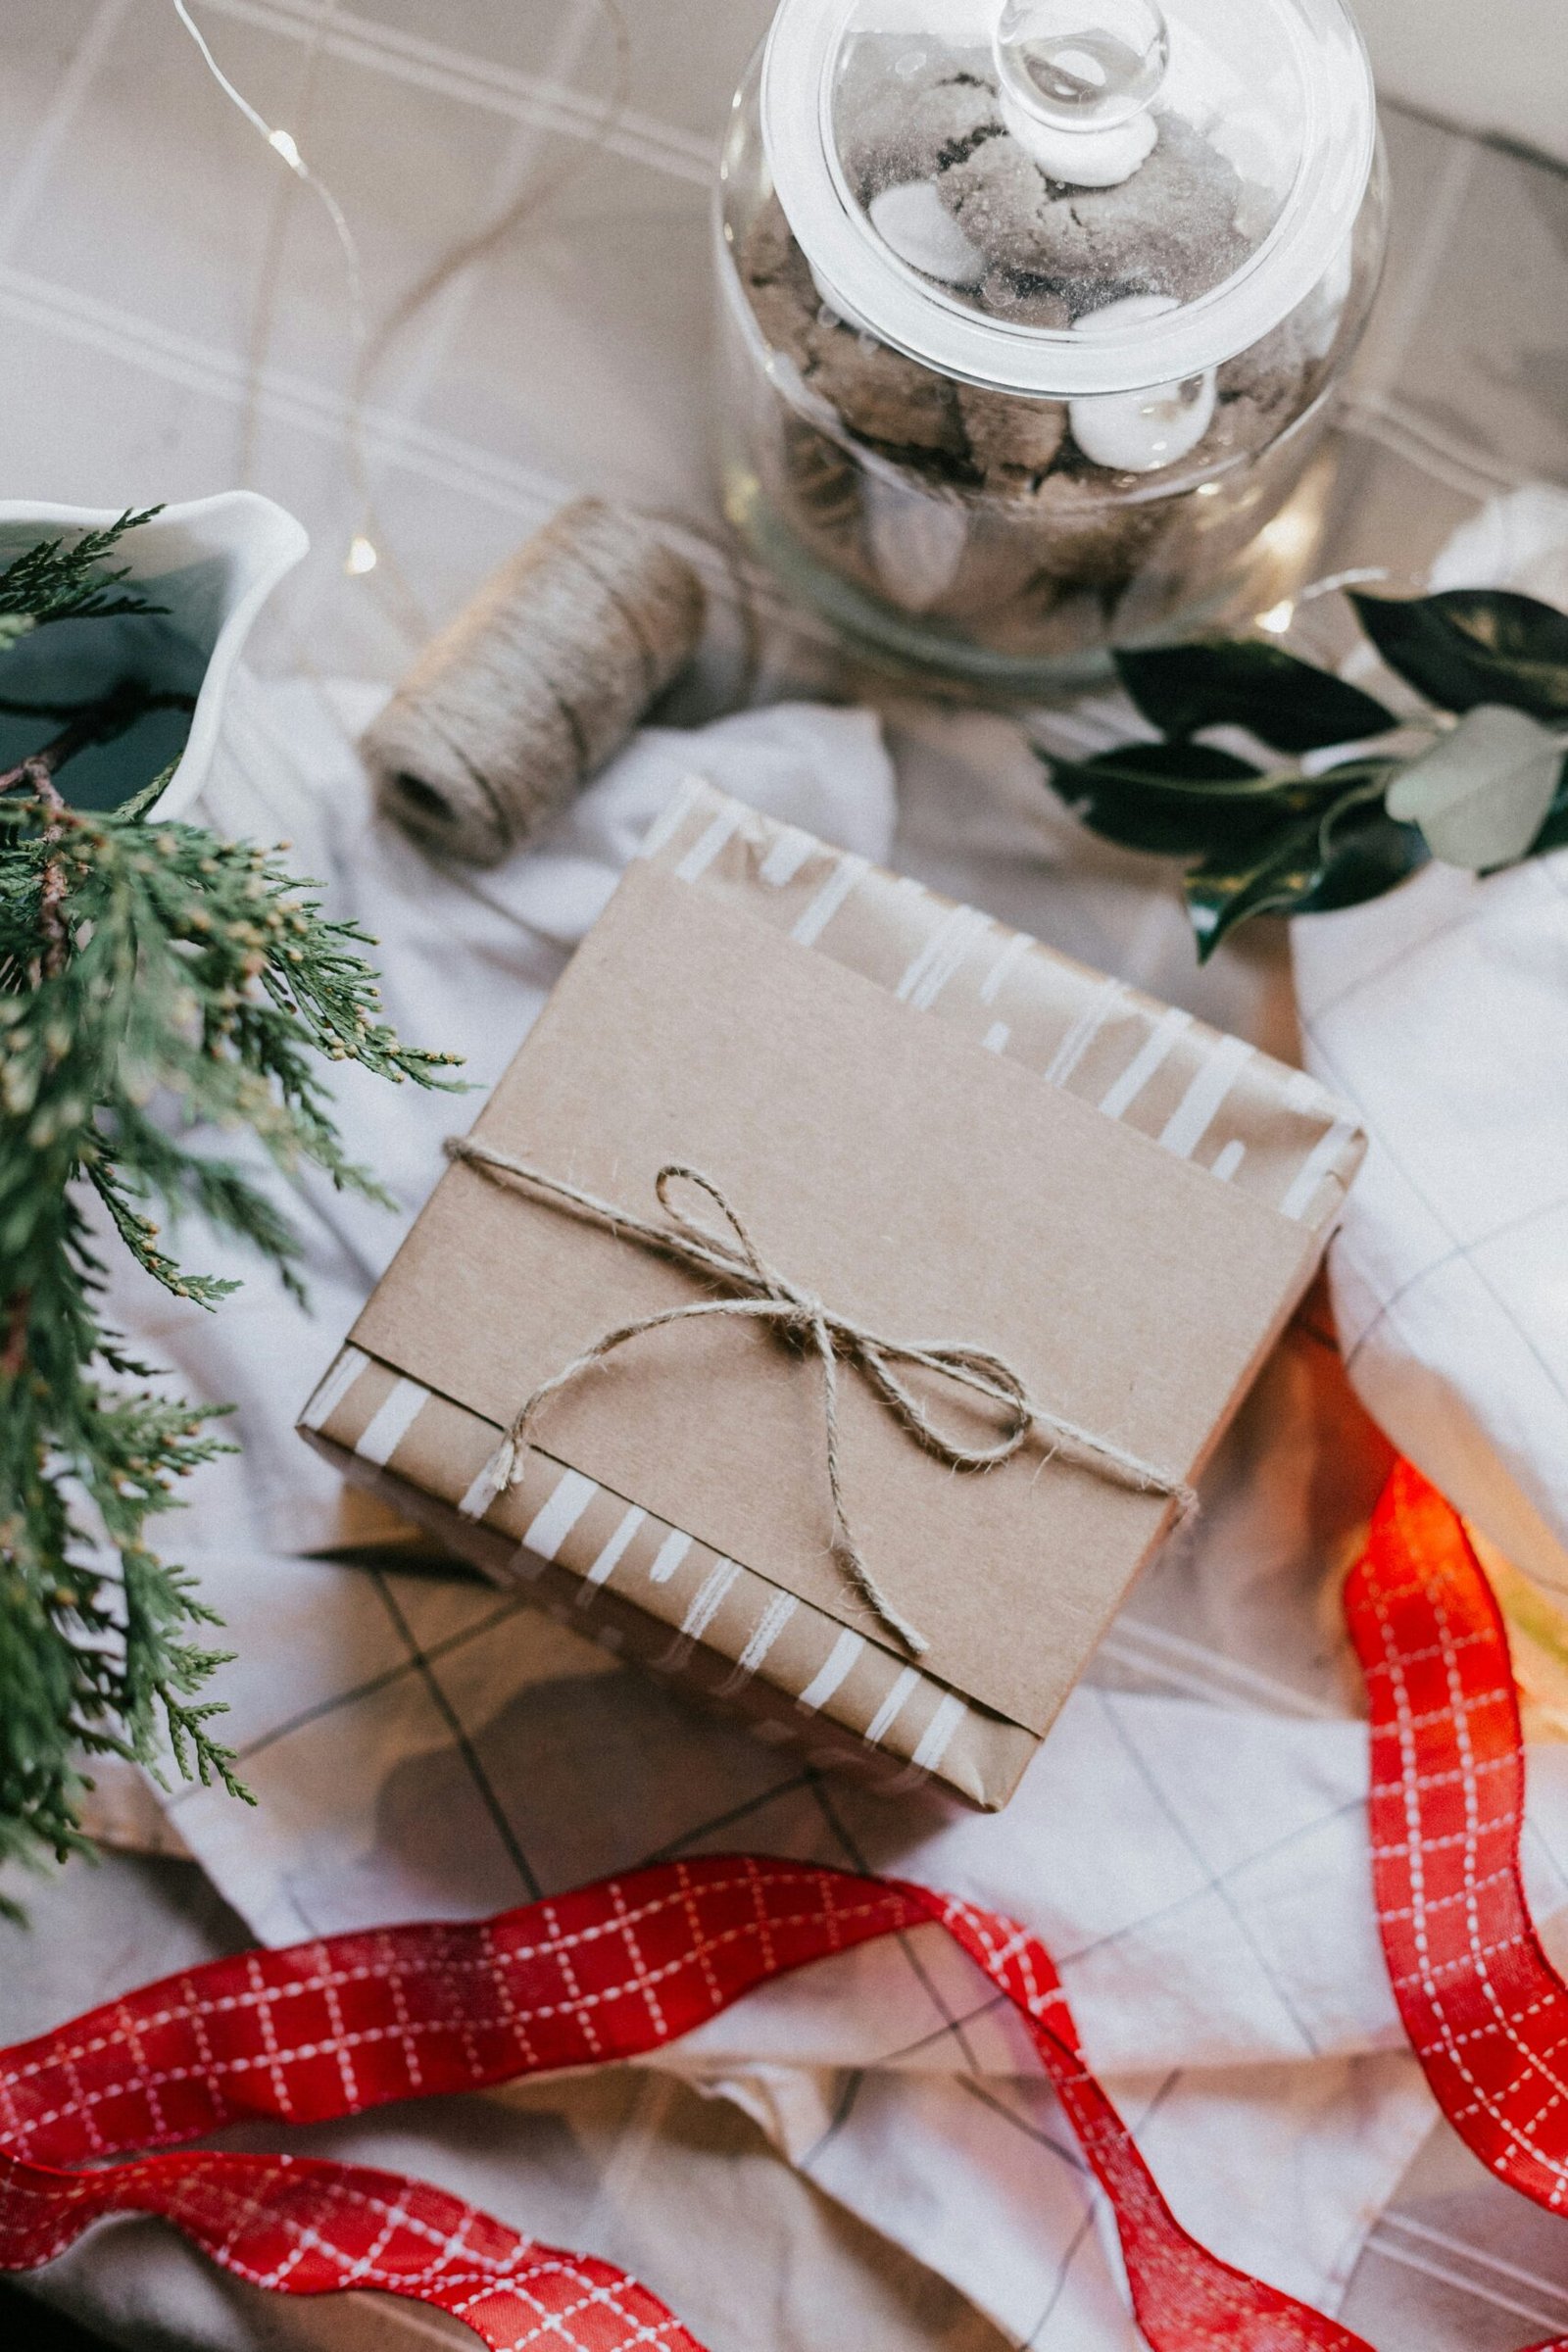
Homemade Bath Products: Pampering gifts like homemade bath bombs, scrubs, and soaps are perfect for those who love self-care. Use natural ingredients and essential oils to create luxurious and soothing products. Package them in decorative jars or boxes for an elegant touch.
These DIY gifts not only cater to different tastes and preferences but also demonstrate the effort and affection put into creating something special. With some creativity and a bit of time, you can craft gifts that are both thoughtful and easy, making every occasion memorable.
Step-by-Step Guide: Handmade Candles
Creating handmade candles is a delightful and rewarding DIY project that makes for thoughtful and personalized gifts. Not only are they relatively simple to make, but they also allow for a high degree of customization, from colors to scents. Below is a comprehensive guide to crafting your own candles at home.
Materials Needed:
- Wax (soy wax, beeswax, or paraffin wax)
- Candle wicks
- Essential oils (for scent)
- Candle dye or crayons (for color)
- Heat-resistant container (like mason jars or tins)
- Double boiler or a heatproof bowl and saucepan
- Thermometer
- Stirring utensil (such as a wooden spoon)
- Wick holder or pencil
Instructions:
1. Prepare the Wick: Begin by attaching the wick to the bottom of your container. You can use a bit of melted wax or a glue dot to secure it. Use a wick holder or a pencil to keep the wick centered and straight.
2. Melt the Wax: Place the wax in a double boiler or a heatproof bowl set over a saucepan of simmering water. Stir occasionally until the wax is completely melted. Use a thermometer to monitor the temperature; it should be between 170°F and 180°F.
3. Add Color and Scent: Once the wax is melted, you can add candle dye or crayon shavings for color. Stir well to ensure an even distribution. Afterward, add your chosen essential oils for fragrance. A good rule of thumb is to use about 1 ounce of essential oil for every pound of wax.
4. Pour the Wax: Allow the wax to cool slightly before pouring it into your prepared container. Pour slowly and steadily to avoid creating air bubbles. Leave a small amount of wax in the boiler for a second pour, as the wax will shrink as it cools.
5. Cool and Refill: Let the candle cool for about 30 minutes. You may notice a sinkhole forming around the wick as the wax solidifies. Reheat the reserved wax and pour it into the container to fill any gaps.
6. Trim the Wick: Once the candle is completely cooled and set, trim the wick to about 1/4 inch. This length is optimal for burning and will help prevent excessive smoking.
Customization Tips:
Experiment with different essential oil blends to create unique scents. You can also incorporate dried flowers, herbs, or even glitter for added visual appeal. For a layered candle, pour different colored wax in stages, allowing each layer to set before adding the next.
Handmade candles are a lovely and practical gift that shows thought and effort. With this step-by-step guide, you can create beautiful, personalized candles that will brighten anyone’s day.
Step-by-Step Guide: Personalized Photo Frames
Creating personalized photo frames is a delightful and straightforward DIY gift idea that adds a personal touch to any occasion. Follow this guide to make a unique photo frame that your friends will cherish. Here’s what you’ll need:
Materials:
- Plain photo frame (wooden or plastic)
- Acrylic paint or spray paint
- Paintbrushes
- Stickers, decals, or embellishments
- Hot glue gun or craft glue
- Photos or printed images
- Clear varnish (optional)
Instructions:
Step 1: Preparing the Frame
Begin by selecting a plain photo frame. Wooden frames are ideal as they can be easily painted and decorated. Ensure the frame is clean and dry before starting your project. If necessary, lightly sand the surface to remove any rough patches.
Step 2: Painting the Frame
Choose a color of acrylic paint that complements the intended décor or the recipient’s favorite color. Using a paintbrush, apply a thin coat of paint to the frame, being careful to cover all areas evenly. Allow the paint to dry completely before applying a second coat if needed. If you prefer a smoother finish, spray paint can be an excellent alternative.
Step 3: Adding Decorative Elements
Once the paint is dry, it’s time to personalize the frame further. Use stickers, decals, or embellishments to add a unique touch. Arrange these elements on the frame to visualize the final look before adhering them with hot glue or craft glue. Feel free to get creative with your decorations – think about adding small charms, beads, or even dried flowers for a more customized appearance.
Step 4: Inserting the Photo
Select a photo that holds special meaning and fits the size of the frame. Trim the photo if necessary to ensure it fits perfectly. Carefully insert the photo into the frame, securing it in place as per the frame’s design. If the frame has a protective glass or plastic cover, make sure it is clean before placing it over the photo.
Step 5: Finishing Touches
To ensure the longevity of your design, consider applying a thin coat of clear varnish over the painted and decorated surface. This step is optional but recommended for added durability. Allow the varnish to dry completely before handling the frame.
By following these simple steps, you can create a meaningful and personalized photo frame that makes for a thoughtful and cherished gift. Whether it’s for a birthday, holiday, or just because, a handmade photo frame is a wonderful way to show your friends how much they mean to you.
Step-by-Step Guide: Custom Jewelry
Creating custom jewelry, such as bracelets or necklaces, is a wonderful way to give a personalized gift that shows thought and effort. To get started, you’ll need the following materials: beads of various sizes and colors, beading string or wire, clasps, crimp beads, and basic jewelry-making tools like pliers and scissors.
First, decide on the type of jewelry you want to create. For a bracelet, measure your friend’s wrist to determine the length of the beading string or wire. For a necklace, consider the desired length – whether it’s a choker, mid-length, or a longer piece. Cut the string or wire to the appropriate length, adding a few extra inches to account for the clasp and any adjustments.
Next, select your beads. Choose colors and patterns that reflect your friend’s personal style. If they prefer a minimalist look, opt for beads in neutral tones or a single color. For a more vibrant style, mix and match different colors and sizes. Arrange your beads in the desired pattern before stringing them to ensure the design flows well.
Begin stringing the beads onto the wire or string. To prevent beads from slipping off, use a small piece of tape at the end. Once all beads are strung, add crimp beads at both ends of the string or wire. These small beads will help secure the clasps. Use pliers to flatten the crimp beads in place, ensuring they are tightly secured.
Finally, attach the clasps. Open a jump ring with pliers, thread it through the crimp bead and the clasp, then close it securely. Repeat this process for the other end. Give the jewelry a gentle tug to ensure everything is securely in place.
Personalize the piece further by adding charms or pendants that hold special meaning for your friend. Consider incorporating their birthstone, initials, or symbols that represent something significant in your friendship. This final touch will make the custom jewelry truly unique and cherished.
Conclusion
Throughout this blog post, we have explored a variety of simple DIY gifts that can bring joy and appreciation to your friends. From handmade candles and personalized photo albums to custom jewelry and homemade treats, these ideas demonstrate that a thoughtful gift does not have to be expensive or complicated. The key takeaway is that DIY gifts allow you to express your creativity and personal touch, making each present unique and meaningful.
DIY gifts are more than just objects; they are a reflection of the time, effort, and care you invest in crafting something special for someone you care about. This personal touch is what makes these gifts so impactful and memorable. Whether you are an experienced crafter or a beginner, the joy of creating something with your own hands and the happiness it brings to the recipient is a rewarding experience.
We encourage you to try making your own gifts, as the process itself can be enjoyable and fulfilling. Not only will you have the opportunity to explore your creative side, but you will also be able to give a gift that truly shows how much your friends mean to you. Remember, it’s the thought and effort that count the most, and your friends will surely appreciate the sentiment behind a handmade gift.
In conclusion, DIY gifts are a wonderful way to convey your affection and appreciation for your friends. By taking the time to create something personalized and heartfelt, you can strengthen your friendships and create lasting memories. So, gather your crafting supplies, unleash your creativity, and start making those thoughtful and easy DIY gifts that will be cherished by your friends for years to come.